Quickstart Guide
Get up and running with Kanman in 5 minutes. Learn how to create your first board, project, and tasks.
Welcome to Kanman! This hands-on guide will walk you through creating your first board, adding projects, and organizing tasks. By the end, you’ll have a fully functional workspace ready for your real work. The entire process takes about five minutes.
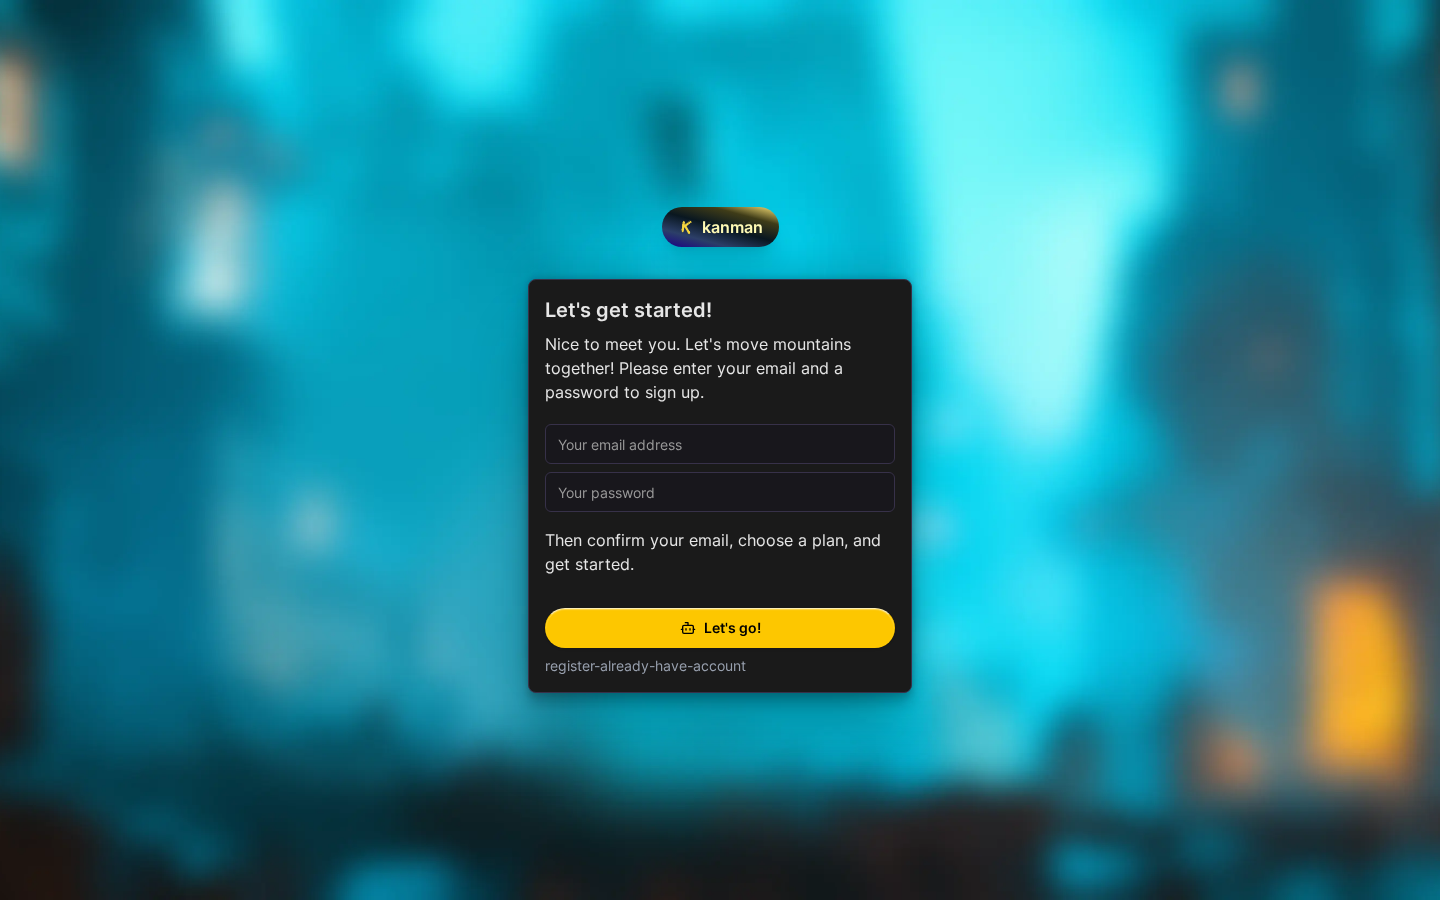
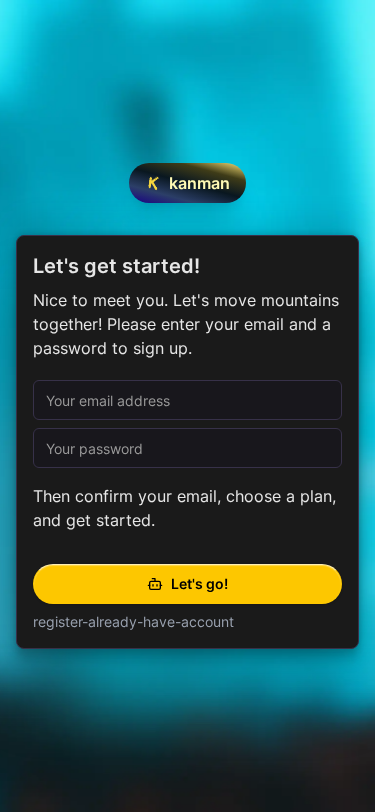
Step 1: Sign Up
Creating your Kanman account is straightforward and takes less than a minute. We only ask for the essentials—no lengthy forms or unnecessary personal information.
- Go to app.kanman.de
- Click Sign Up and enter your email address and a secure password
- Check your inbox for a verification email and click the confirmation link
- You’re in! Kanman will automatically create your first workspace
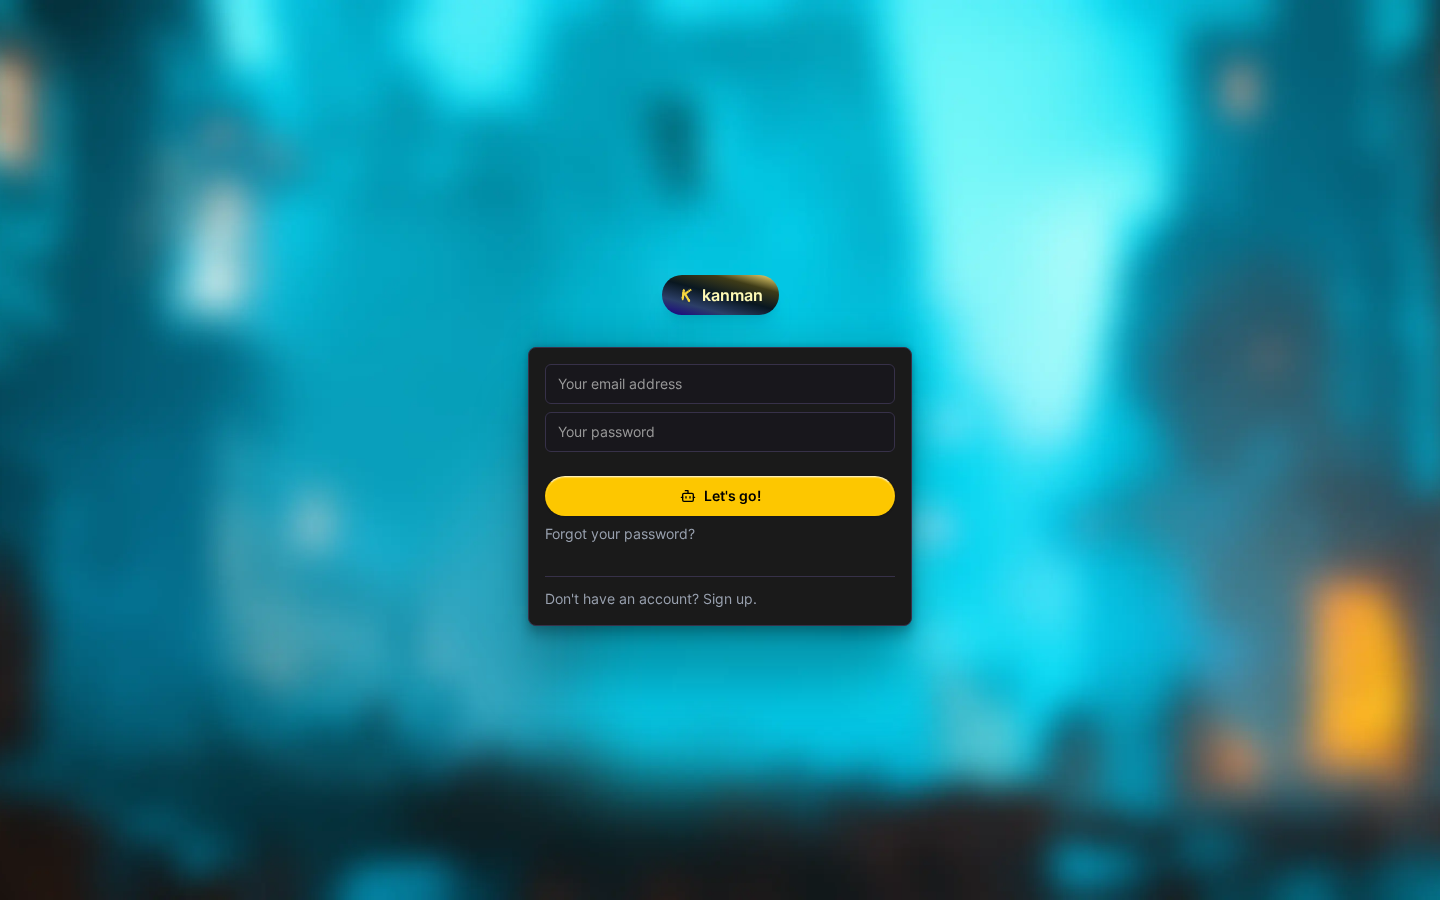
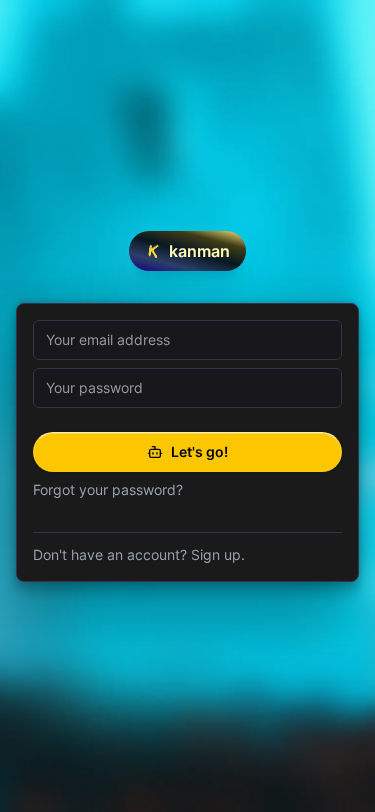
Already have an account? Click Log In to access your existing boards. Kanman remembers your session, so you’ll stay logged in across browser sessions unless you explicitly sign out.
Step 2: Create Your First Board
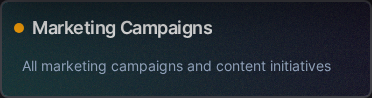
A board is your top-level workspace—think of it as a container that holds all the projects and tasks related to a specific area of your life or work. Most users create separate boards for different contexts: one for work, one for personal goals, one for a specific client, and so on.
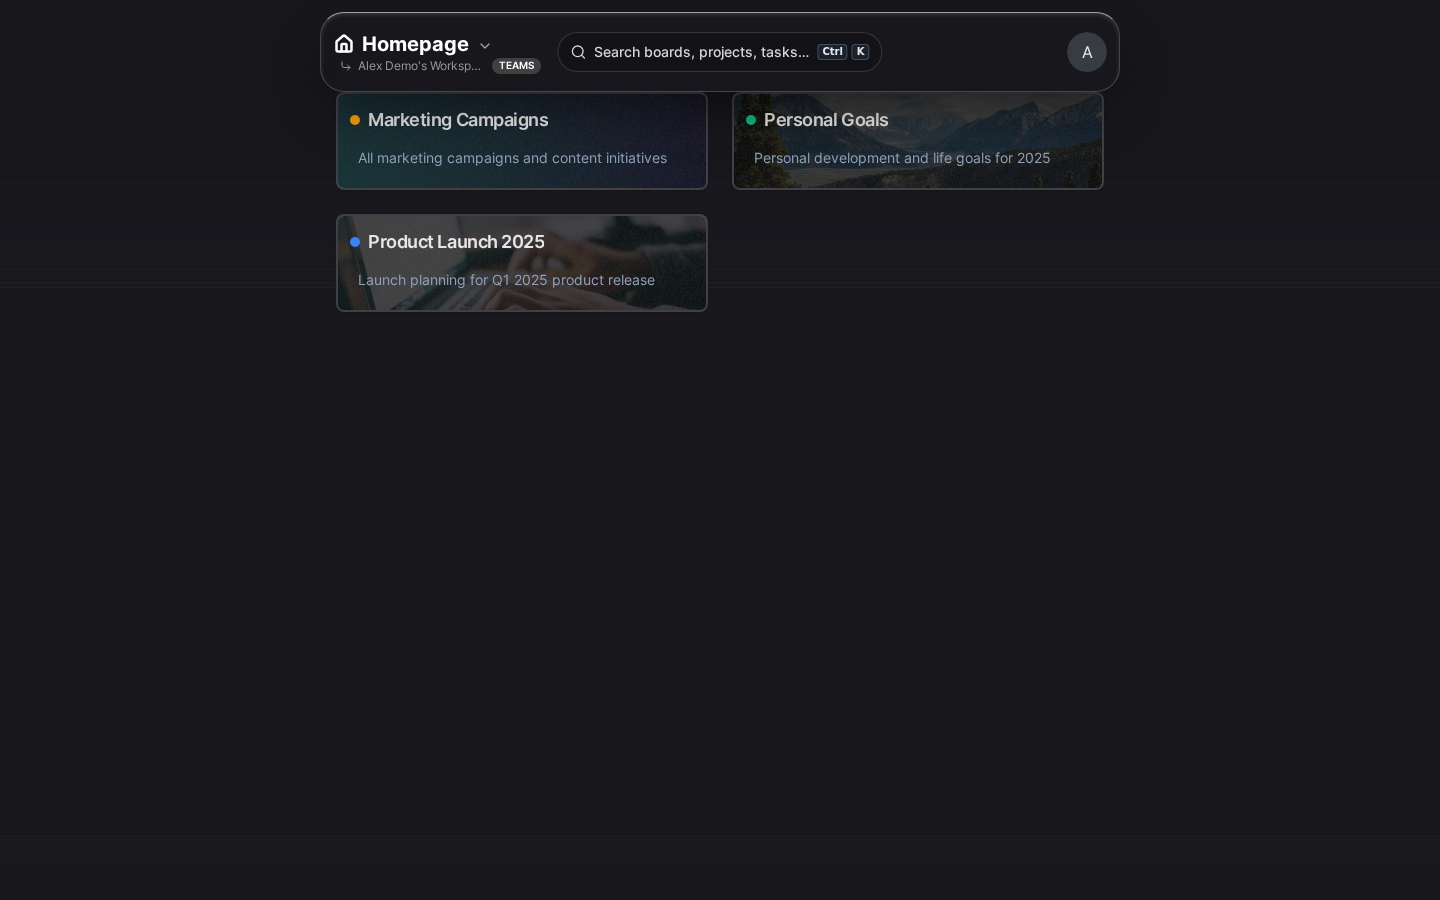

- Click the + New Board button in the sidebar or the prominent button on the homepage
- Give your board a clear, descriptive name (e.g., “Work Projects”, “Personal Tasks”, “Home Renovation”)
- Optionally customize the appearance to make your board instantly recognizable:
- Icon: Choose from hundreds of icons in the Lucide library to represent your board visually
- Background: Select a solid color or search Unsplash for a beautiful photo background
- Accent color: Pick a color that will highlight important elements throughout the board
- Click Create to finish
Don’t worry about getting everything perfect—you can always change these settings later from the board’s settings menu.
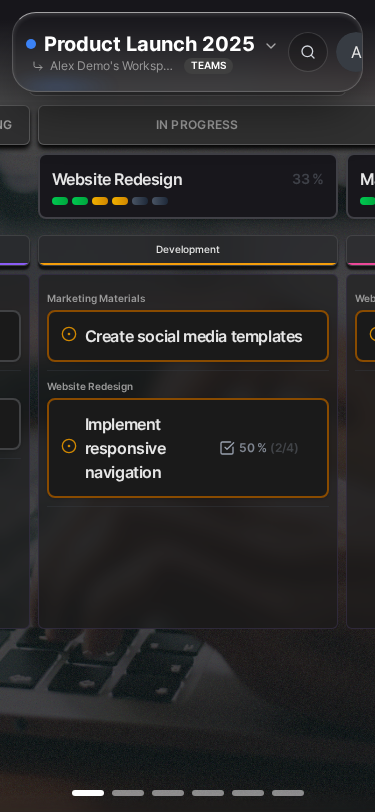
Step 3: Add Your First Project
Projects live inside boards and help you group related tasks together. They’re perfect for organizing work by goal, milestone, feature, or any other grouping that makes sense to you. For example, within a “Work” board, you might have separate projects for “Q1 Marketing Campaign”, “Website Redesign”, and “Team Onboarding”.

- Open your new board by clicking on it in the sidebar
- Click the + Add Project button
- Enter a clear project name that describes the scope of work (e.g., “Q1 Marketing Campaign”, “Website Redesign”)
- Optionally add a description using the rich text editor—this is a great place to document project goals, deadlines, or important notes
- Click Create to add the project to your board
Your project will appear as an expandable card. Click on the project header to expand it and see all associated tasks.
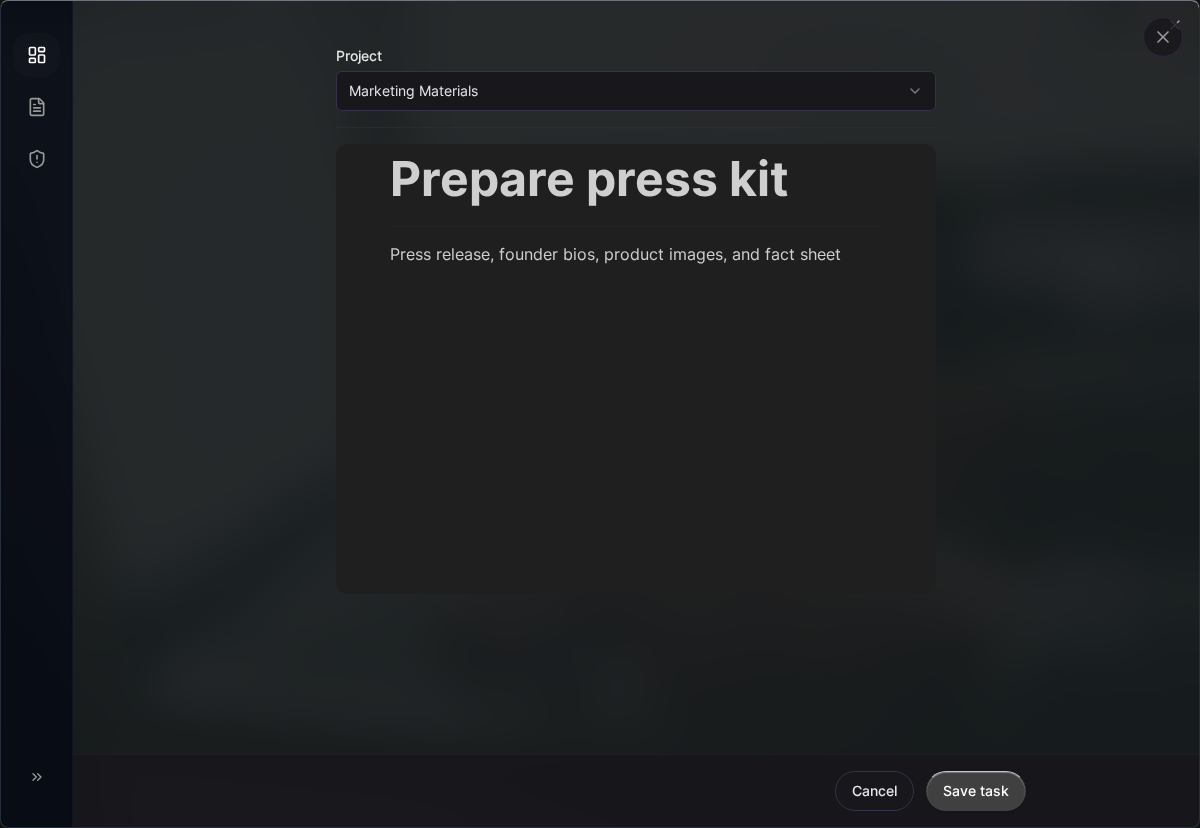
Step 4: Create Tasks
Tasks are the individual work items you need to complete. They’re the building blocks of your projects—each task represents a single actionable item that you can check off when finished. Keep task names specific and action-oriented so it’s clear what “done” looks like.
- Click on your project to expand it and reveal the task area
- Click + Add Task or simply start typing in the task input field
- Enter a specific, actionable task description (e.g., “Design homepage mockup”, “Review client feedback”, “Schedule kickoff meeting”)
- Press Enter to add the task—the input field stays active so you can quickly add multiple tasks in a row
Task Status
Every task moves through three statuses as you work on it. This simple workflow keeps things straightforward while still giving you visibility into what’s happening:
| Status | Meaning | When to Use |
|---|---|---|
| Open | Not started yet | Default state for new tasks |
| In Progress | Currently being worked on | When you’re actively working on something |
| Done | Completed | When the work is finished |
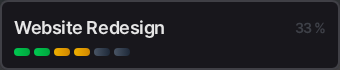
To change a task’s status, click the status indicator (the circle or checkmark next to the task) to cycle through the options. In Kanban view, you can also drag tasks between columns to change their status visually. The progress bar on your project updates automatically as you complete tasks.
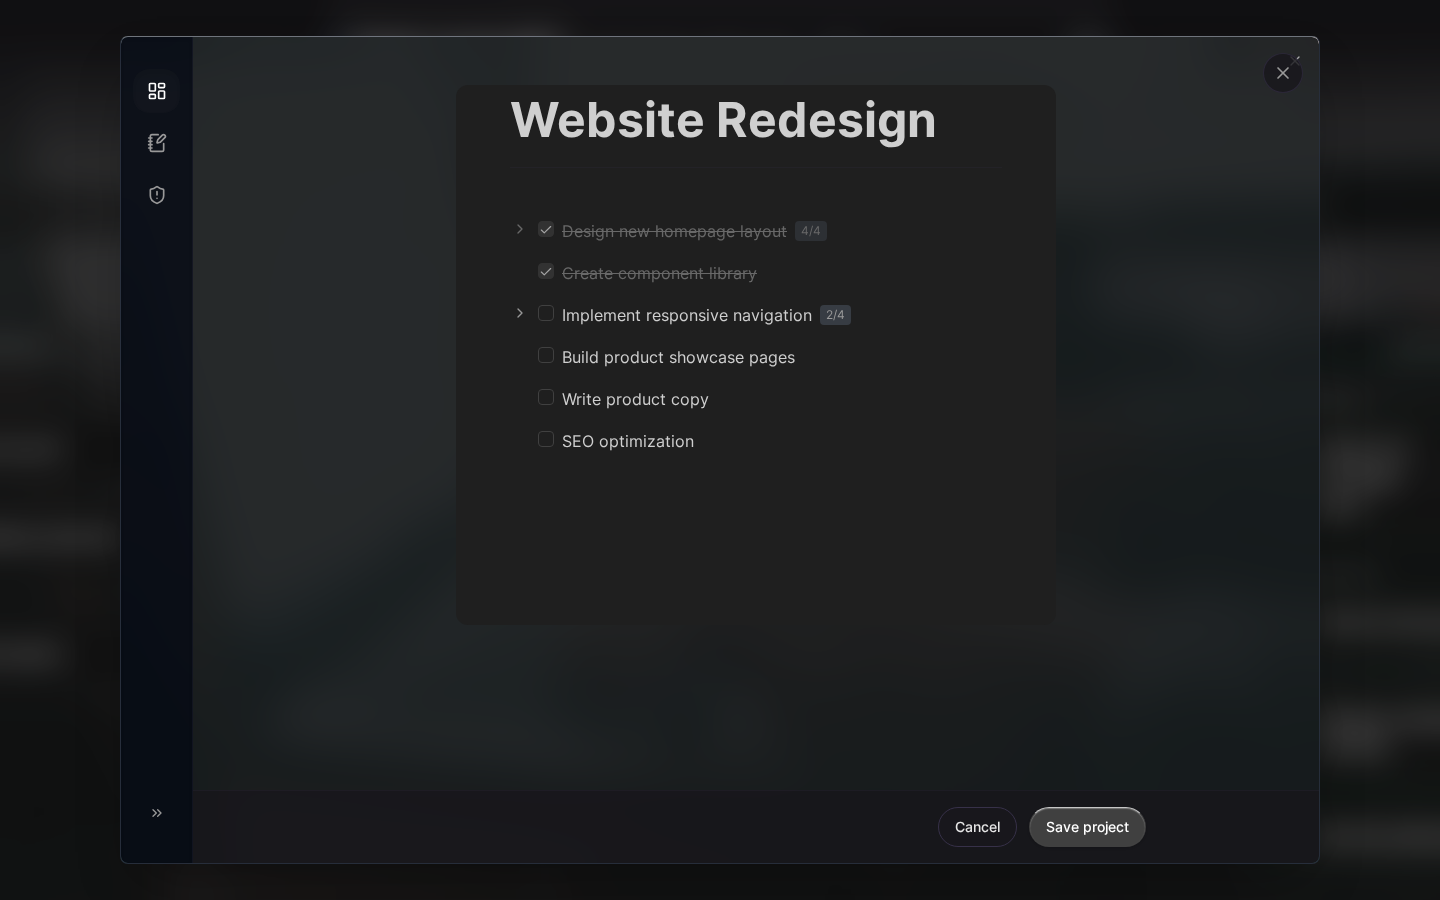
Step 5: Add Subtasks (Optional)
Some tasks are too complex to track as a single item. When you find yourself thinking “this task has multiple parts,” it’s time to break it down into subtasks. Subtasks let you track granular progress while keeping related work grouped under one parent task.
- Click on any task to open the detail panel
- Scroll down to the Subtasks section
- Click + Add Subtask or start typing in the subtask input
- Enter a specific subtask description and press Enter
- Check off subtasks as you complete them—the parent task will show a progress indicator
Subtasks are perfect for things like “Launch new feature” where you might have subtasks for “Write documentation”, “Update marketing page”, and “Send announcement email”. Each subtask can be completed independently, but they all contribute to the parent task’s progress.
Congratulations!
You’ve just set up your first Kanman workspace with a board, project, and tasks. You now have everything you need to start organizing your work effectively. As you use Kanman, you’ll discover that this simple structure—boards containing projects containing tasks—is flexible enough to handle everything from personal to-do lists to complex team projects.
What’s Next?
Now that you have the basics down, here are some ways to get even more out of Kanman:
- Core Concepts - Understand the philosophy behind boards, projects, and tasks, and learn advanced organization strategies
- Kanban View - Switch to a visual kanban board layout for workflow-based task management
- Keyboard Shortcuts - Learn the keyboard commands that will dramatically speed up your workflow
- API Reference - Automate Kanman and integrate it with your other tools (available on Pro and Teams plans)
Need Help?
We’re here to help you succeed with Kanman:
- Browse the Features documentation for detailed guides on every capability
- Visit kanman.de for product updates and announcements
- Check real-time system status at status.kanman.de
Last updated: January 1, 0001
Try Kanman