Workspaces
Learn about workspaces - the billing and team boundary in Kanman.
Workspaces are the top-level container in Kanman. They define billing boundaries and, on Teams plans, enable collaboration. Users can create and switch between multiple workspaces.

What is a Workspace?
A workspace is:
- The entity your subscription is attached to
- The boundary for team collaboration (Teams plan)
- Where quotas and limits are applied
- A container for all your boards, projects, and tasks
Every Kanman user has at least one workspace, and can create additional workspaces as needed.
Workspace Hierarchy
Kanman organizes your work in a clear hierarchy:
Why This Hierarchy Matters
- Workspaces isolate billing and team access
- Boards provide visual organization and different views
- Projects group related tasks with progress tracking
- Tasks are the actual work items with deadlines and assignments
Workspace Properties
| Property | Description |
|---|---|
| Name | Display name for the workspace |
| Slug | URL-friendly identifier |
| Plan | personal, pro, or teams |
| Subscription Status | active, past_due, canceled, trialing |
| Seat Count | Number of team members (Teams only) |
| Renewal Date | Next billing date |
Plans and Workspaces
Personal & Pro Plans
- Single-user workspace
- Seat count is always 1
- All boards owned by you
Teams Plan
- Multi-user workspace
- Minimum 3 seats
- Shared boards and collaboration
- Role-based permissions
Workspace Roles (Teams Only)
| Role | Permissions |
|---|---|
| Owner | Full control, billing access, can delete workspace |
| Admin | Manage members, manage settings (no billing) |
| Member | Standard access to boards, projects, tasks |
| Viewer | Read-only access (future feature) |
Billable vs Non-Billable
- Owner, Admin, Member = Billable seats
- Viewer = Non-billable (when available)
Managing Workspaces
Creating a Workspace
You can create a new workspace directly from the board selector:
- Click the board dropdown in the header
- Click Create workspace
- Enter a name for your workspace
- Click Create

The new workspace will be created with your default plan, and you’ll be automatically switched to it.
Tip: Create separate workspaces for different clients, departments, or personal vs work projects.
Switching Workspaces
Switch between workspaces using the board selector:
- Click the board dropdown in the header
- Find the workspace you want in the list
- Click on the workspace to switch

Your workspace choice is remembered, so you’ll return to the same workspace when you reopen Kanman.
Workspace Settings
Access workspace settings to:
- Update workspace name
- Manage team members (Teams plan)
- View subscription details
- Access billing portal
Multi-Workspace Benefits
Use Cases
Freelancers & Consultants:
- Separate workspace per client
- Clean billing and project separation
- Easy context switching
Agencies:
- Workspace per department (Design, Development, Marketing)
- Clear team boundaries
- Dedicated resources per workspace
Personal Organization:
- Work vs personal projects
- Side hustles in separate workspaces
- Different plans for different needs
Notifications Across Workspaces
When you’re a member of multiple workspaces, notifications are workspace-aware:
- Each notification shows which workspace it came from
- Filter notifications by workspace in the notification center
- Never miss updates from any of your teams
Quotas and Limits
Each workspace has quotas based on the plan:
| Resource | Personal | Pro | Teams |
|---|---|---|---|
| Boards | 5 | 15 | 50 |
| Projects | 25 | 100 | 500 |
| Tasks | 500 | 2,500 | 10,000 |
Pro features (API, webhooks, integrations) are also tied to the workspace plan.
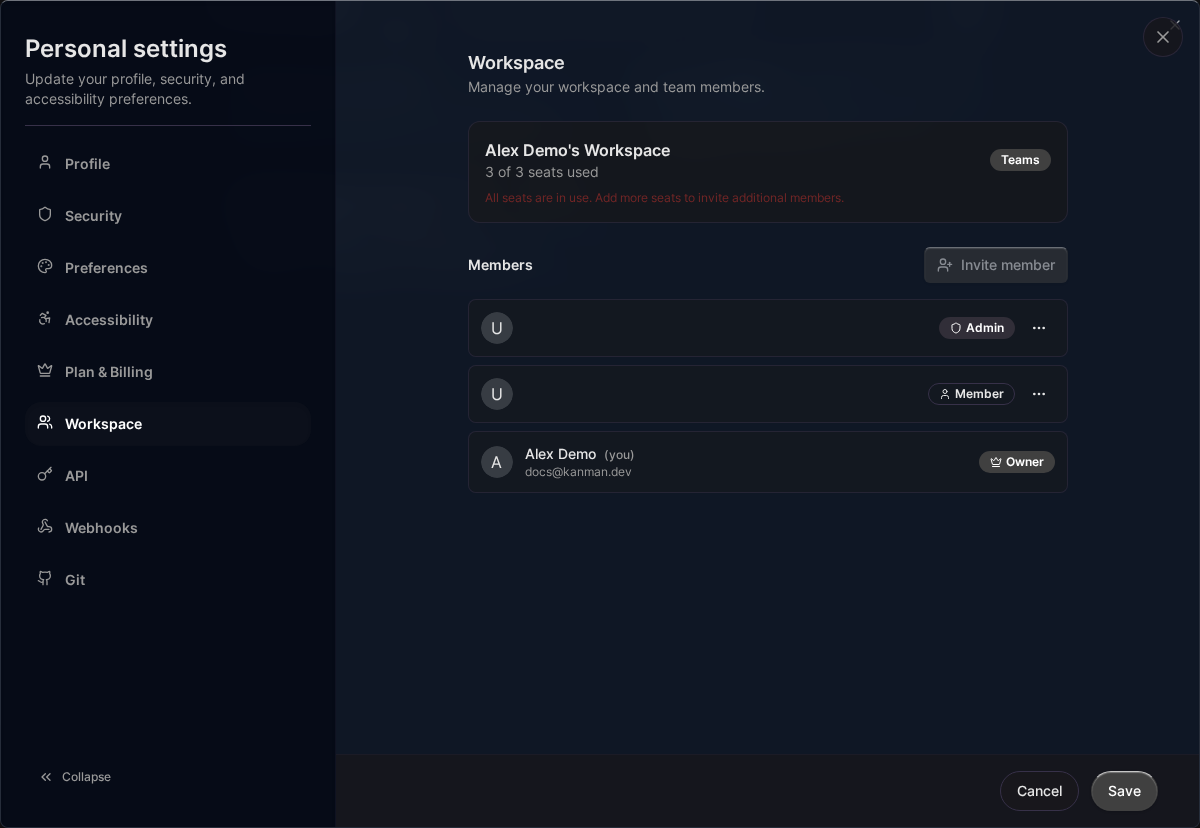
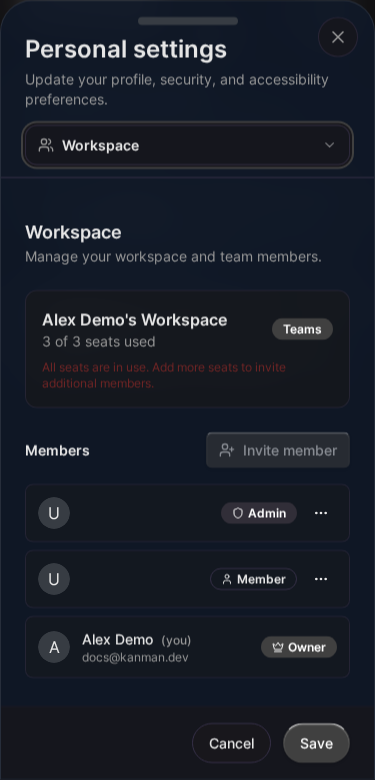
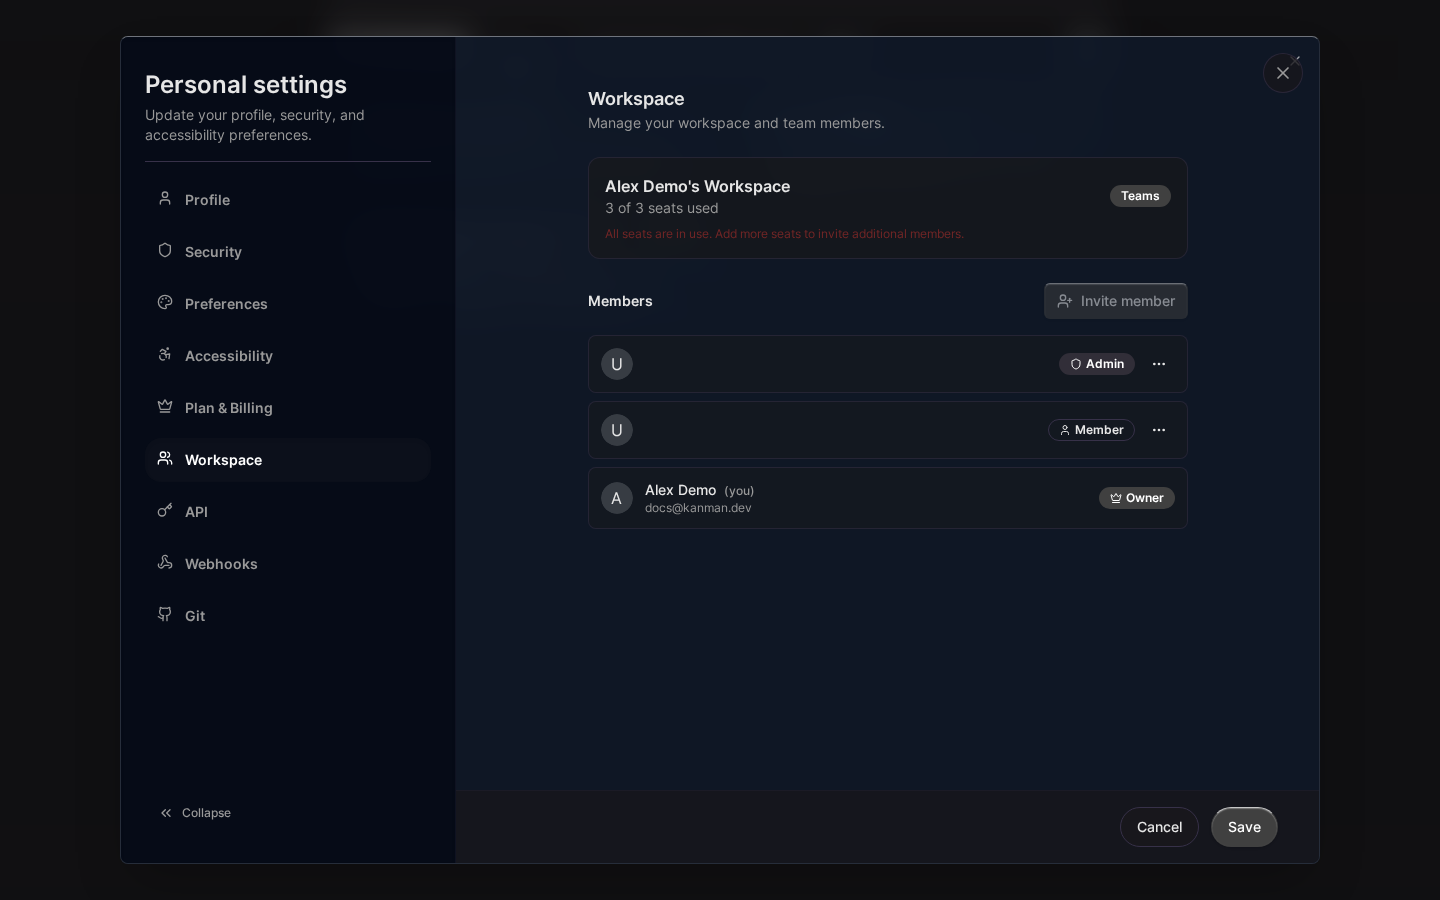
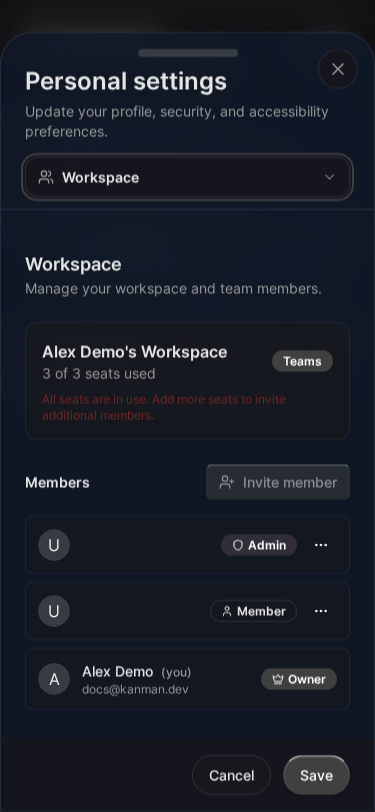
Inviting Team Members (Teams Only)
- Go to Settings > Workspace > Members
- Click Invite Member
- Enter their email address
- Select a role
- Click Send Invitation


The invitee will receive an email with instructions to join.
Removing Team Members
- Go to Settings > Workspace > Members
- Find the member to remove
- Click the Remove button
- Confirm removal
Note: Removing a member doesn’t delete their work. Tasks and projects they created remain in the workspace.
Transferring Ownership
To transfer workspace ownership:
- The new owner must already be an Admin or Member
- Go to Settings > Workspace > Members
- Click the menu next to the new owner
- Select Transfer Ownership
- Confirm the transfer
The previous owner becomes an Admin.
Deleting a Workspace
Warning: This action is irreversible and will delete all data in the workspace.
- Go to Settings > Workspace
- Scroll to Danger Zone
- Click Delete Workspace
- Type the workspace name to confirm
- Click Delete Permanently
Related Topics
- Boards - Visual containers within workspaces
- Pricing & Plans - Compare workspace plans
- Team Collaboration - Work together effectively
- Billing - Manage your subscription
Last updated: January 1, 0001
Try Kanman