Authentication
Learn how to authenticate with the Kanman API using API tokens.
The Kanman API uses API tokens (also known as API keys) for authentication. Every request to the API must include a valid token, which identifies your account and determines what operations you’re allowed to perform. This guide covers everything you need to know about creating, using, and securing your API tokens.
API tokens are designed with security in mind. They’re scoped to specific permissions, have mandatory expiration dates, and can be revoked instantly if compromised. This gives you fine-grained control over what each integration can access while making it easy to rotate credentials regularly.
API Token Format
Kanman API tokens:
- Start with the prefix
km_ - Are 35 characters total (km_ + 32 random characters)
- Example:
km_ABCDEFGHIJKLMNOPQRSTUVWXYZabcdef
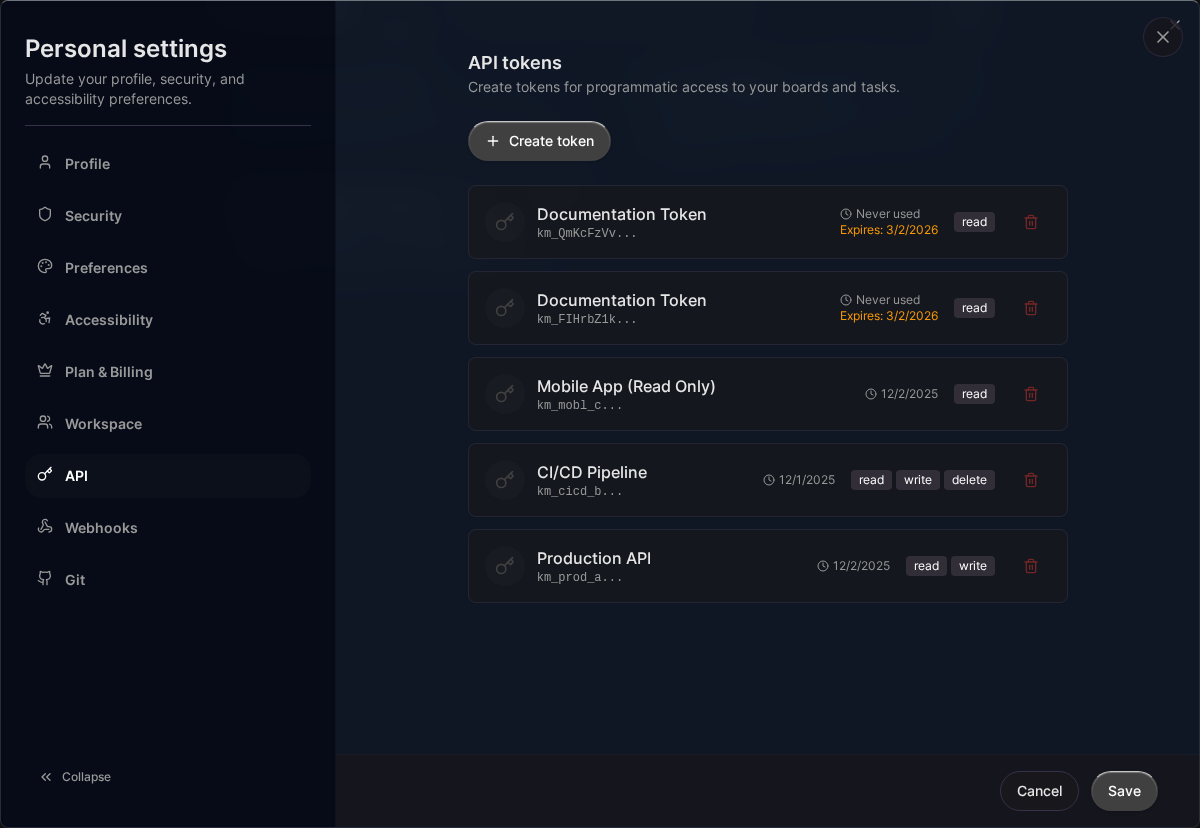
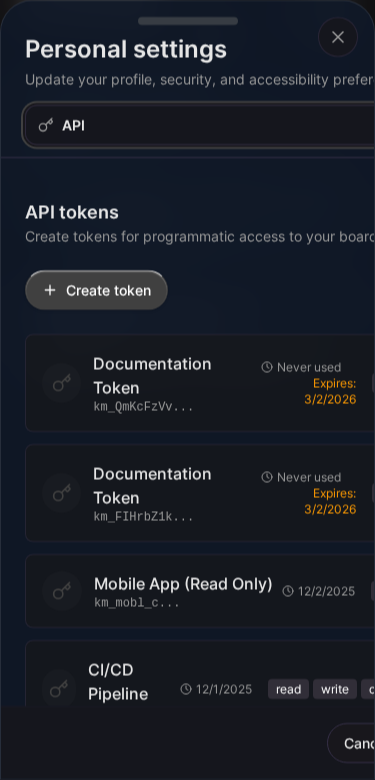
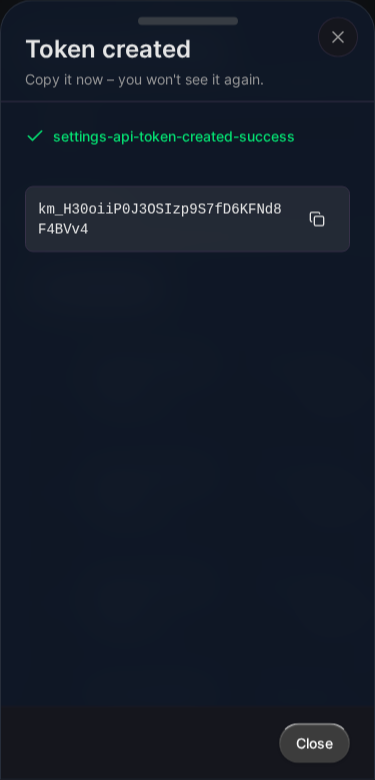
Creating an API Token
- Go to Settings > API Tokens
- Click Create Token
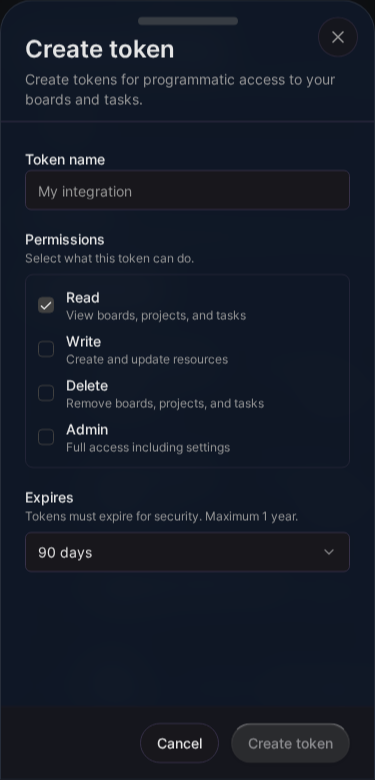
- Enter a descriptive name (e.g., “CI/CD Pipeline”, “Zapier Integration”)
- Select the scopes you need
- Set an expiration date (max 365 days)
- Click Create
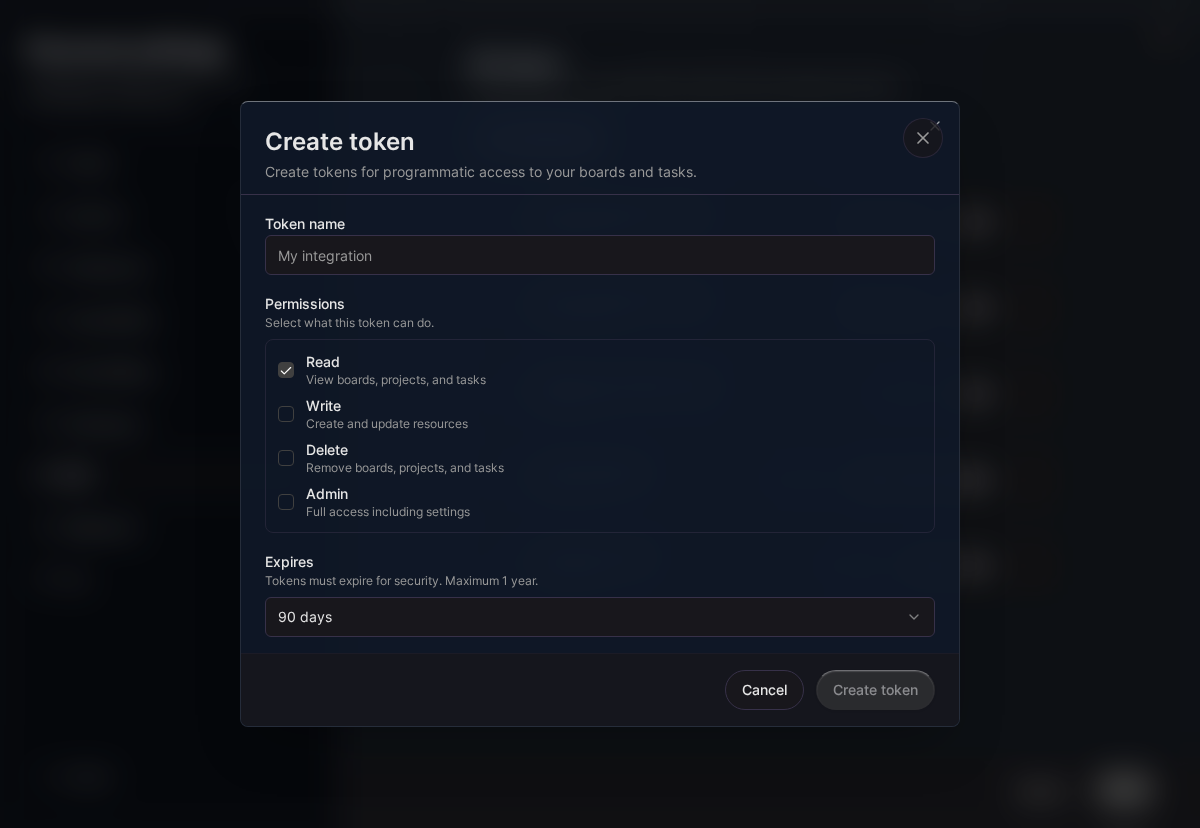
Important: The token is only shown once. Copy and store it securely immediately.

Token Scopes
Scopes determine what actions a token can perform. Following the principle of least privilege, you should only grant the permissions your integration actually needs. This limits potential damage if a token is ever compromised and makes it easier to audit what different integrations can do.
Tokens can have one or more scopes:
| Scope | Permissions | Typical Use Case |
|---|---|---|
read |
List and get resources | Dashboards, reporting, read-only sync |
write |
Create and update resources | Form submissions, automation, two-way sync |
delete |
Delete resources | Cleanup scripts, full sync |
admin |
All permissions (includes read, write, delete) | Full integration control |
When in doubt, start with minimal scopes and expand them only if you encounter permission errors. You can always create a new token with additional scopes.
Scope Examples
| Use Case | Recommended Scopes |
|---|---|
| Dashboard/reporting | read |
| Create tasks from forms | read, write |
| Full sync with another tool | read, write, delete |
| Admin automation | admin |
Using Your Token
Include the token in the Authorization header:
curl https://api.kanman.de/v1/boards \
  -H "Authorization: Bearer km_your_api_token"
JavaScript Example
const response = await fetch('https://api.kanman.de/v1/boards', {
  headers: {
    'Authorization': 'Bearer km_your_api_token',
    'Content-Type': 'application/json'
  }
});
const data = await response.json();
Python Example
import requests

headers = {
    'Authorization': 'Bearer km_your_api_token',
    'Content-Type': 'application/json'
}

response = requests.get('https://api.kanman.de/v1/boards', headers=headers)
data = response.json()
Token Properties
Each token has:
| Property | Description |
|---|---|
id |
Unique identifier |
name |
Descriptive name you choose |
token_prefix |
First 11 chars (for identification) |
scopes |
Array of granted permissions |
expires_at |
When the token expires |
last_used_at |
Last API call timestamp |
created_at |
When token was created |
Token Limits
| Plan | Max Tokens |
|---|---|
| Pro | 5 |
| Teams | 20 |
Purchase additional token packs if needed.
Token Expiration
Tokens must have an expiration date:
- Minimum: 1 day from creation
- Maximum: 365 days from creation
- Recommendation: Use the shortest practical expiration
Expired tokens are rejected with a 401 Unauthorized error.
Revoking Tokens
To revoke a token:
- Go to Settings > API Tokens
- Find the token by name or prefix
- Click Revoke
- Confirm revocation
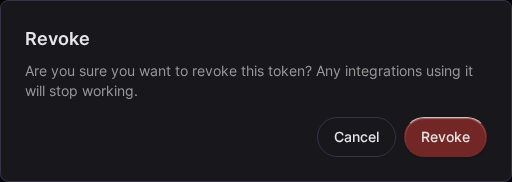
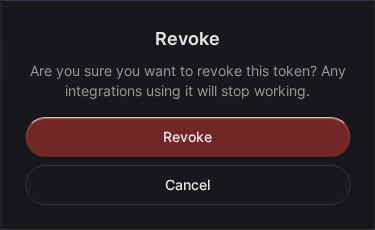
Revoked tokens are immediately invalid.
Token Security
Security is critical when working with API tokens. A compromised token gives attackers the same access your integration has, so protecting your tokens should be a top priority. Following these best practices helps minimize risk and makes it easier to respond if something goes wrong.
Best Practices
-
Never commit tokens to version control
- Use environment variables for local development
- Use secret management tools for production
- Add
.envfiles to your.gitignore
-
Use minimal scopes
- Only grant permissions actually needed
- Create separate tokens for different purposes
- A reporting dashboard only needs
read, notadmin
-
Rotate regularly
- Set reminders before expiration
- Create new token before revoking old one
- Shorter expiration periods reduce risk windows
-
Monitor usage
- Check
last_used_atfor unexpected activity - Revoke unused tokens promptly
- Investigate any suspicious access patterns
- Check
What NOT to Do
- ❌ Share tokens between team members
- ❌ Use tokens with
adminscope unnecessarily - ❌ Store tokens in client-side code
- ❌ Send tokens over unencrypted channels
Token Storage
Store tokens securely:
Environment Variables
export KANMAN_API_TOKEN=km_your_api_token
const token = process.env.KANMAN_API_TOKEN;
Secret Managers
- AWS Secrets Manager
- HashiCorp Vault
- Azure Key Vault
- Google Secret Manager
CI/CD Systems
Most CI/CD systems support secrets:
- GitHub Actions: Repository secrets
- GitLab CI: CI/CD variables
- Jenkins: Credentials plugin
Authentication Errors
| Error | Cause | Solution |
|---|---|---|
401 Unauthorized |
Missing or invalid token | Check token is correct |
401 Token expired |
Token past expiration | Create a new token |
403 Forbidden |
Insufficient scopes | Use a token with required scope |
Example: Complete Flow
// 1. Store token in environment
// export KANMAN_API_TOKEN=km_xxxxx

// 2. Use in code
const KANMAN_TOKEN = process.env.KANMAN_API_TOKEN;

async function createTask(projectId, label) {
  const response = await fetch('https://api.kanman.de/v1/tasks', {
    method: 'POST',
    headers: {
      'Authorization': `Bearer ${KANMAN_TOKEN}`,
      'Content-Type': 'application/json'
    },
    body: JSON.stringify({
      projectId,
      label
    })
  });

  if (!response.ok) {
    throw new Error(`API error: ${response.status}`);
  }

  return response.json();
}

// 3. Use the function
const task = await createTask('project-uuid', 'New task from API');
console.log(task);
Related Topics
- Rate Limits - API quotas
- Errors - Error handling
- Boards - Board endpoints
Last updated: January 1, 0001
Try Kanman